Sign Up
Applies to
eWay-CRM Desktop, eWay-CRM Online and eWay-CRM Mobile (iOS and Android).
Note
If you want to register using your Microsoft 365 account, it must be a Microsoft Entra work or school account, not any other type. For more information, see this article: What’s the difference between a Microsoft account and a work or school account?
- Go to eWay-CRM.com and start with creating your account. You can sign up either with your email address or Microsoft account. But do not forget: Your email address can be related to only one eWay-CRM account.
- After confirming your sign-up method, insert some basic information about your company, optionally your name, if it was not retrieved from your Microsoft 365 account. The country indicated as the phone number prefix determines which currency and country will be used as the default in fields such as deals, documents, etc., in eWay-CRM. Then, click Next.
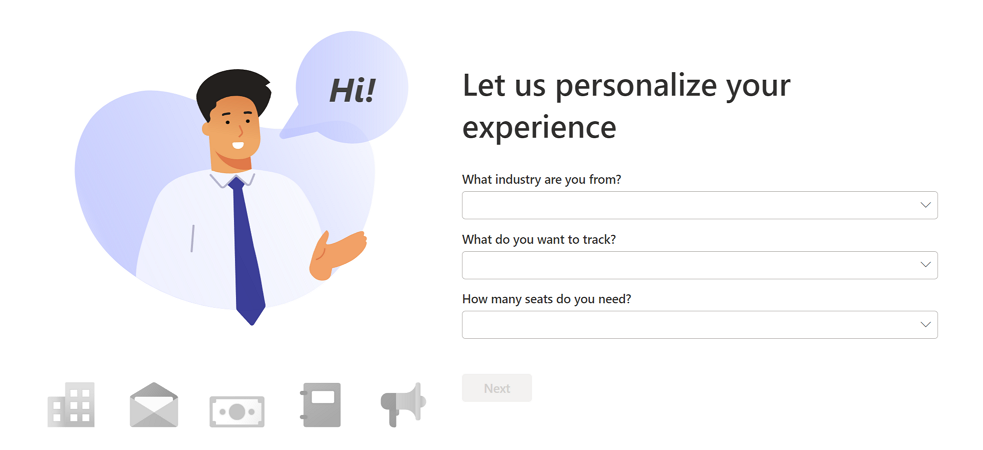
- Fill in the data about your business.
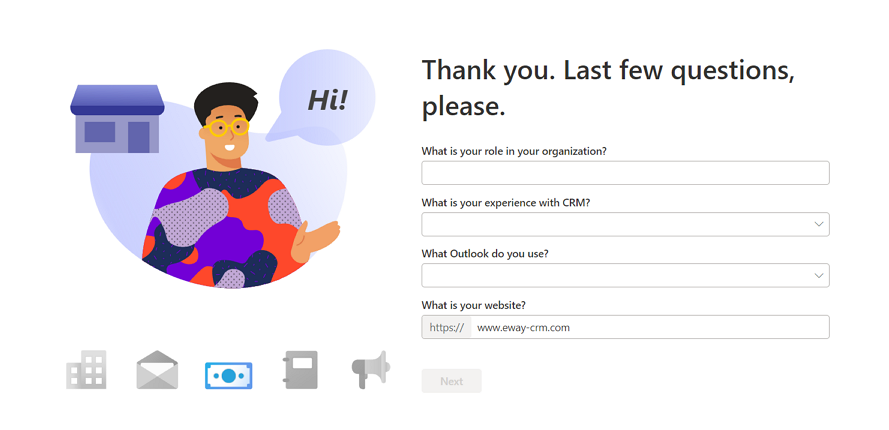
- And then data about you and your CRM experience.
- The account creating can take a minute while you see its progress.
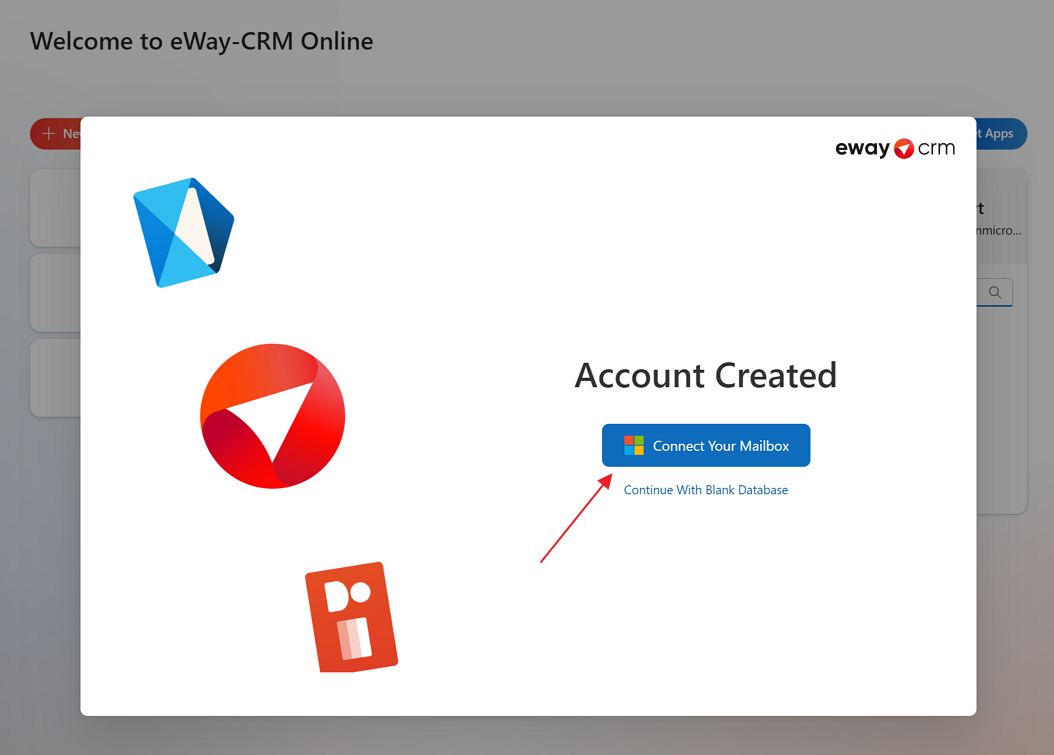
- After successful registration, you will be transferred to the web interface where you can start using eWay-CRM features by importing your contacts and emails from Microsoft 365. Just click Connect Your Mailbox to login to your work Microsoft 365 account.
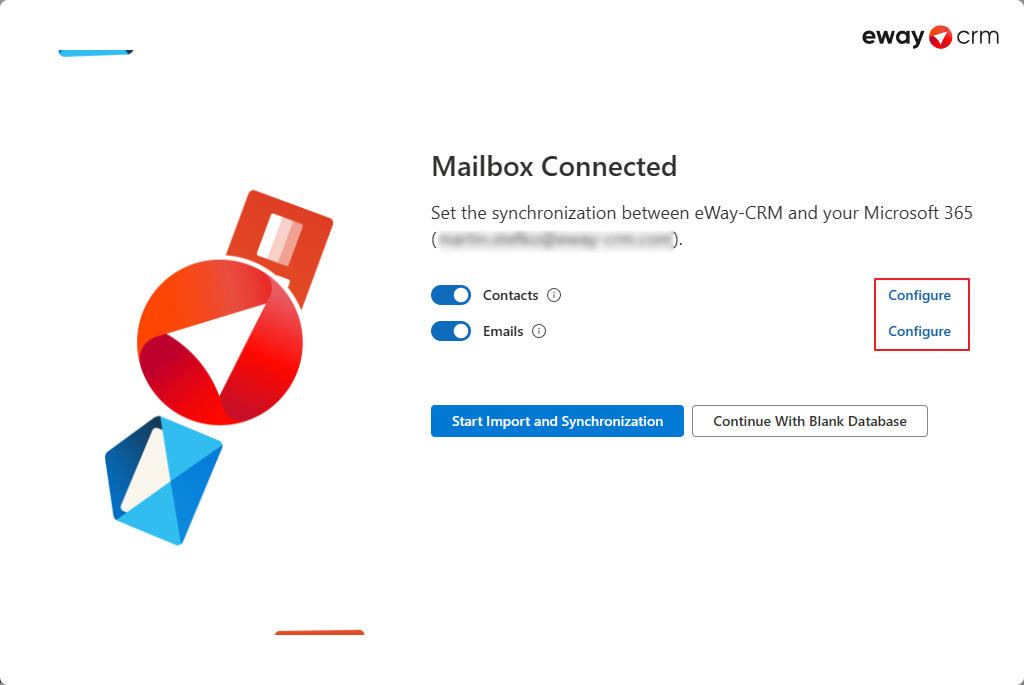
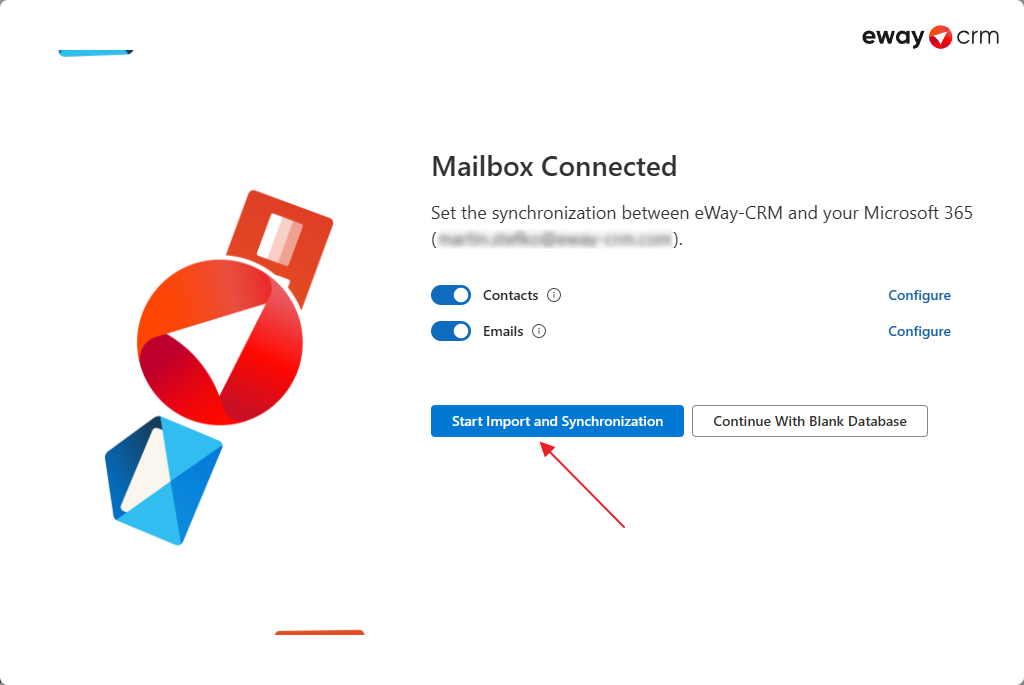
If you choose the option to Continue With Blank Database, eWay-CRM Online will open directly without any data, only basic information about your user account. However, it is possible to create items manually or import them later. And if you want to work with eWay-CRM in the classic Outlook, install eWay-CRM Desktop. - You can import contacts or emails from your Microsoft 365 account. just click Configure next to both options and set the import.
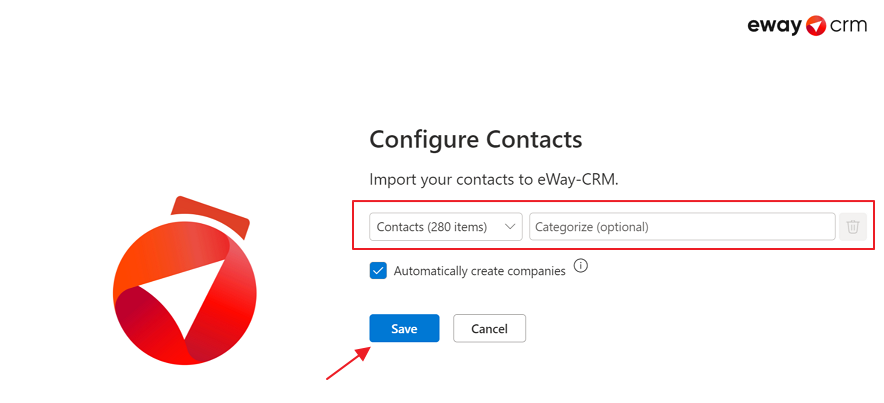
- If you click Configure next to contacts, you can set data to import. You are logged into your Microsoft 365 account. Here, you can see how many contacts will be imported. If you have more folders of contacts in your Microsoft 365 account, you can add other folders. Now, you can decide, whether you want to automatically categorize contacts or automatically create companies that are filled on contacts in Outlook. If you are satisfied with your settings, click Save.
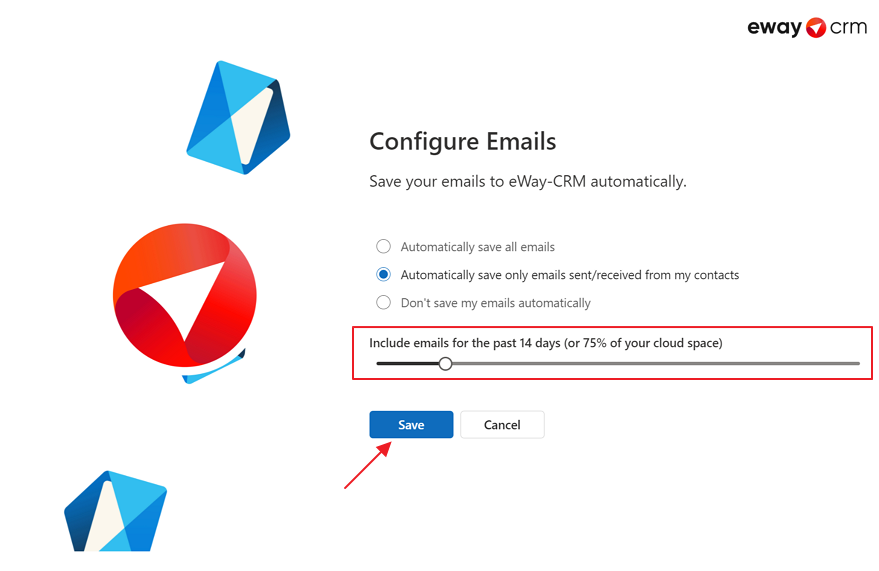
- If you click Configure next to emails, you can set data to import. You need to select what emails will be imported and for how long time period. Longer the period, longer the import. If you are satisfied with your settings, click Save.
- If everything is set due to your needs, please click Start Import and Synchronization.
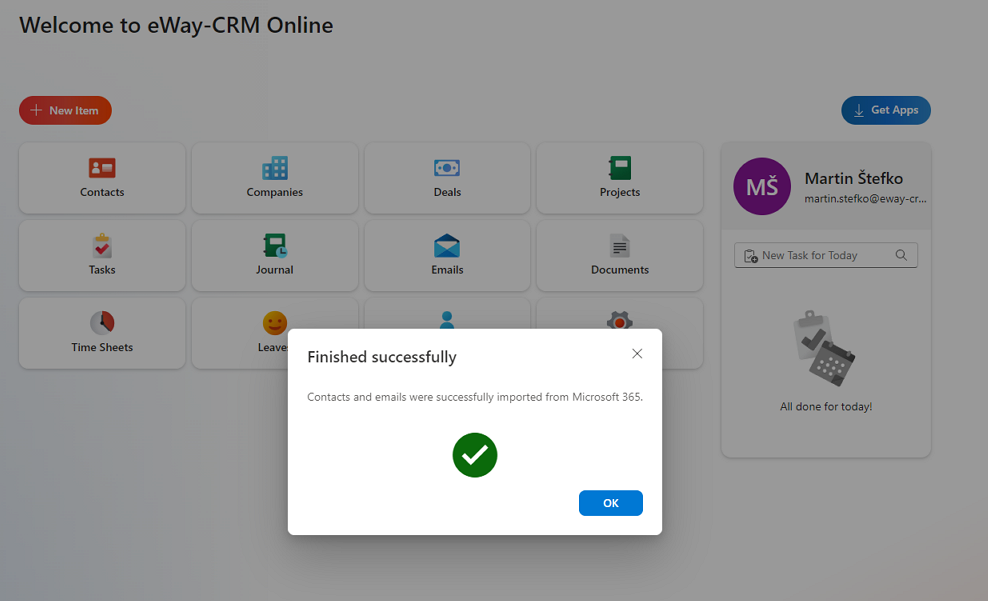
- As soon as the import is finished, you will see success dialog. Now, you can fully work with eWay-CRM Online and all your imported data.



Was it useful?
- Install eWay-CRM
- First Steps in eWay-CRM
- Synchronize Contacts with Outlook
- Import Contacts From Microsoft 365
- Import Contacts From Microsoft Outlook
- Import Contacts From Emails
- Import Data From Microsoft Excel
- Synchronize Contacts with Microsoft 365 (server)
- Synchronize Contacts with Outlook (local)
- Save Emails to Contacts Automatically with Microsoft 365 (server)
- Save Emails to Contacts Automatically with Outlook (local)

